
Tools
Baking Sheet
Clay Tools
Cup of Water
Oven or Toaster Oven
Sculpey Clay Face Mold
Straw
Materials
Leaves
Parchment Paper
Sculpey Clay
Spray Acrylic Sealer or Mod Podge

Instructions
Cover your work space with parchment paper.

Condition the clay by kneading until it is soft and smooth.

Roll the clay out flat to about 1/8th to 1/4th inch thick flattened sheet the size of the leaf.

Place the leaf on the clay sheet and press the leaf into the clay to make the leaf impression. I used the clay roller.

Cut the leaf impression out with the clay knife.


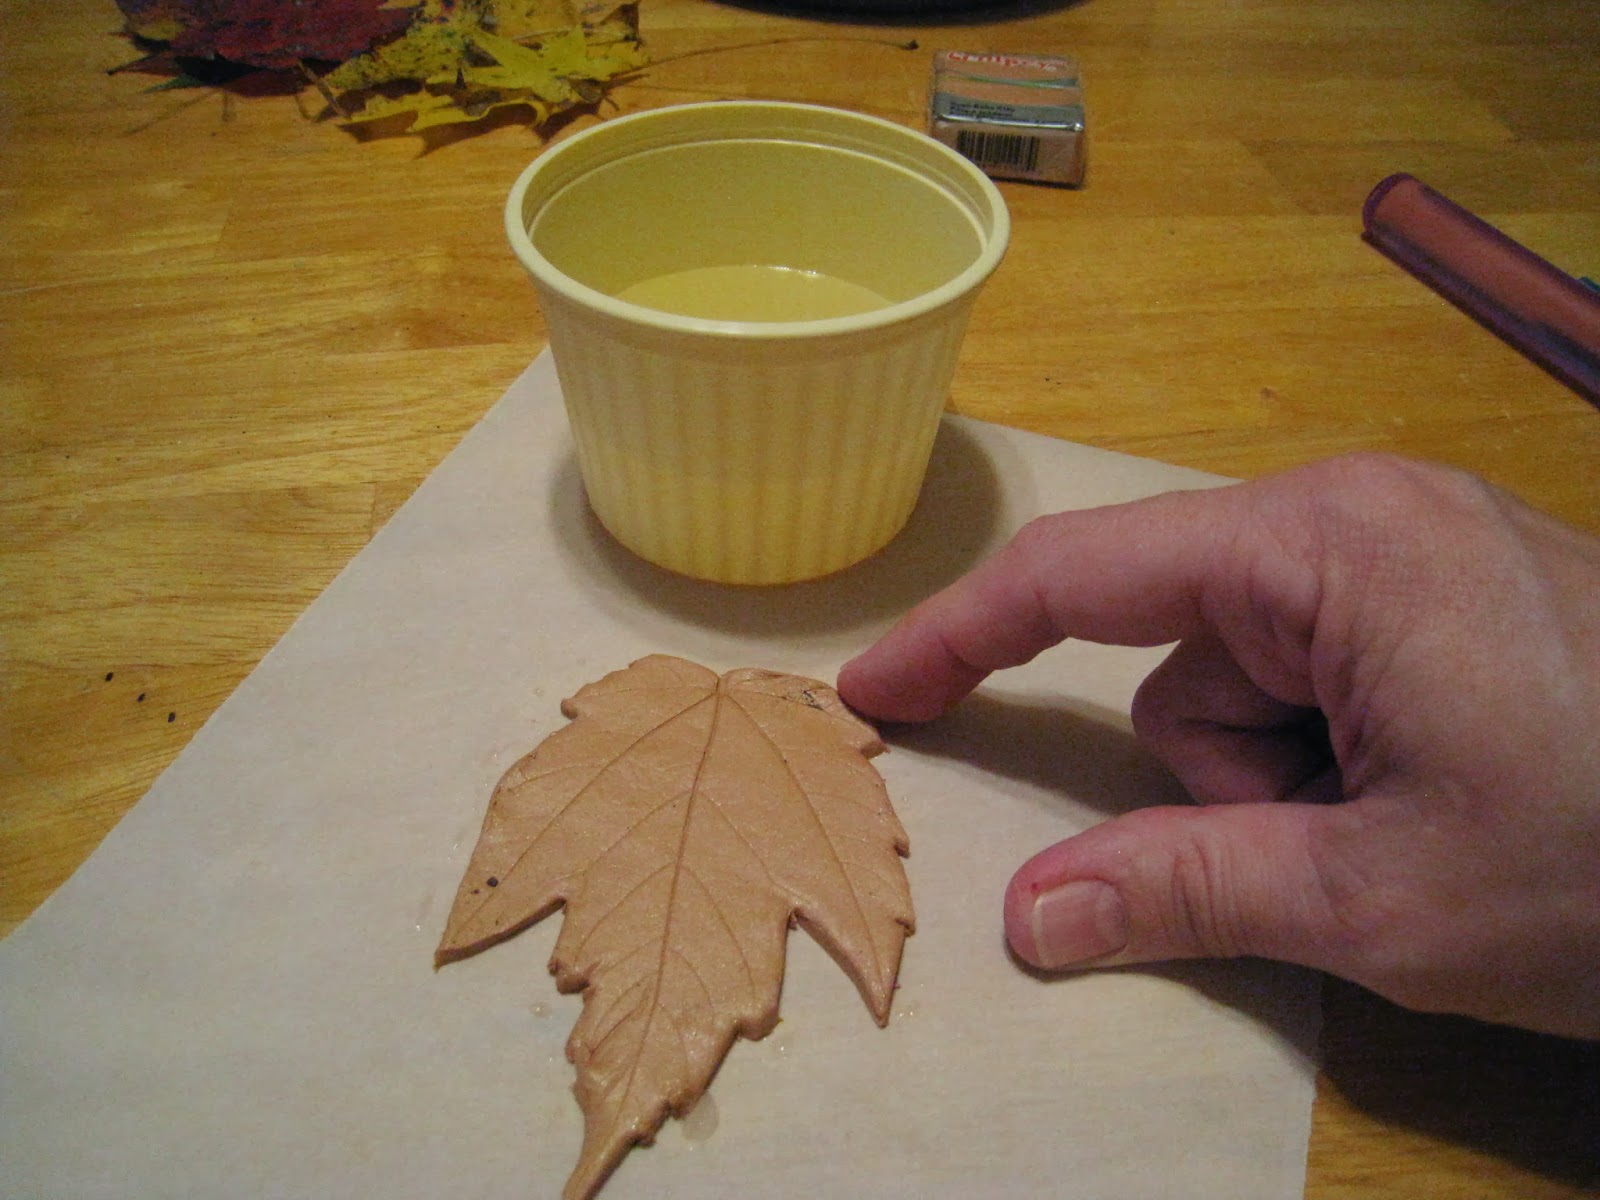
Carefully remove the leaf from the clay.


Smooth the edges of the clay leaf with a wet finger.
Condition another piece of clay into a small ball just big enough to fit into the mold.

Press clay ball into face mold. Flatten the back side of the ball of clay.
Tip: Lightly coat your mold with baby powder and your impression will come out easily.

Remove the clay from mold.

Trim off the extra clay with the knife.

Smooth the edges of the clay with a wet finger.

Place the clay face on the leaf.

Smooth the clay around the face where the clay attaches to the clay leaf.

Tip: If you will want to hang your Leaf Spirit, use a straw to poke a hole in the clay.

Place the design on a baking sheet lined with parchment paper.

Bake at 275 degrees for 15 minutes per 1/4 inch clay thickness. Do not over bake.

Allow to cool.
.jpg)
Seal with clear acrylic spray or Mod Podge.


Your leaf is ready to be displayed.

No comments:
Post a Comment